Introduction
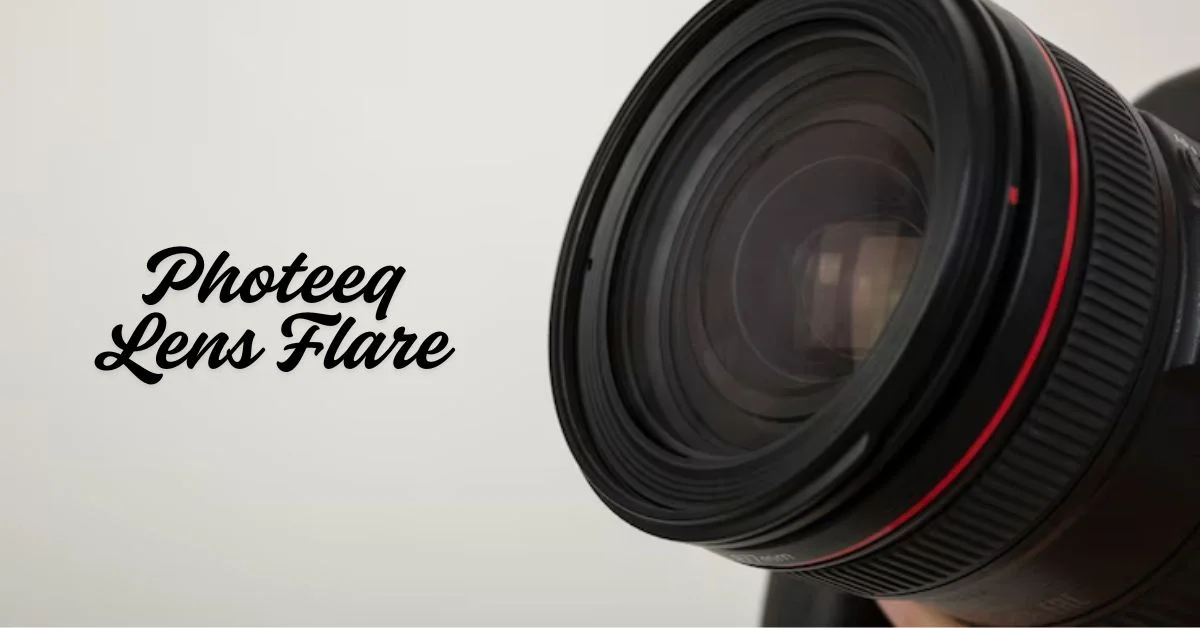
In the digital age of photography, effects like lens flare can elevate a photo from ordinary to unforgettable. One tool standing out in the space is Photeeq lens flare—a software-based enhancement that gives photographers and designers stunning, realistic light bursts to enrich their visual storytelling.
In this guide, we explore how Photeeq lens flare works, why it’s loved by professionals, and how you can use it to create visually compelling imagery.
What is Photeeq Lens Flare?
Photeeq lens flare is a digital photo effect provided by Photeeq’s plugin suite that mimics the light streaks and orbs seen when a camera faces a bright light source, like the sun.
Unlike built-in lens flare filters in generic photo editors, Photeeq’s tool offers:
- High-resolution, layered flare effects
- Adjustable intensity, angle, and shape
- Compatibility with Lightroom and Photoshop
Why Use Lens Flare in Photography?
Lens flare isn’t just a technical glitch; it’s become a creative asset. When used with purpose, it:
- Adds warmth and depth to backlit images
- Draws the eye to a subject or area in the frame
- Creates mood and emotion, particularly in lifestyle or travel photography
- Enhances realism in digitally manipulated scenes
Well-applied flare can tell a better visual story, making your shots feel dynamic and cinematic.
How Photeeq Enhances Lens Flare Effects
1. Non-Destructive Editing
With Photeeq lens flare, the effect is applied as a separate layer—meaning your original photo stays intact.
2. Fine-Tuned Control
Users can tweak:
- Position of the flare
- Light source shape (hexagonal, round, elliptical)
- Bloom and glow settings
- Color temperature for time-of-day effects
3. Seamless Workflow Integration
Photeeq’s plugins blend smoothly with Adobe platforms. It’s perfect for:
- Photographers working in RAW
- Retouchers needing high-fidelity output
- Designers who need consistency across a visual campaign
Real-World Applications for Creators
Photeeq lens flare is especially useful in:
- Wedding Photography: Add golden-hour radiance even if the sun was hiding.
- Commercial Shoots: Simulate studio lighting for dramatic focus.
- Outdoor Portraits: Create dreamlike backlighting around hair or outlines.
- Digital Art: Enhance CGI or composite imagery with lifelike light sources.
Example:
A travel photographer used Photeeq lens flare to amplify sunset shots during a cloudy day in Iceland, resulting in images that felt warm, cinematic, and story-driven.
Tips for Achieving Natural Lens Flare
- Start with a backlit image – Flares look best when the light source is behind or slightly to the side of the subject.
- Avoid overuse – One well-placed flare looks compelling; multiple may overwhelm the scene.
- Use layer masking – Blend the flare gently into your image.
- Match the light temperature – Don’t insert a golden flare in a cool-toned blue hour scene.
READ MORE: Pedrovazpaulo Marketing Consulting: Driving Business Growth
Common Misconceptions
“Lens flare is a mistake.”
While originally a result of imperfect optics, today it’s a stylized choice embraced by both photographers and filmmakers.
“Photeeq lens flare looks fake.”
Not true when used correctly. With high-res overlays and masking, the effect looks entirely organic.
“It’s only for professionals.”
Beginners can use Photeeq lens flare too. The intuitive interface makes experimentation easy.
Conclusion
Whether you’re editing portraits, landscapes, or commercial visuals, Photeeq lens flare offers photographers a rich, flexible tool to elevate their art. When used thoughtfully, it bridges the gap between digital precision and natural magic.
FAQ
Is Photeeq lens flare free?
Photeeq used to offer free plugins, but most advanced features are now part of a paid suite or subscription.
Does it work with Lightroom?
Yes. Photeeq’s plugins support both Lightroom and Photoshop (check for version compatibility).
Can I customize the flare shape?
Absolutely. You can choose from built-in presets or manually adjust the flare geometry.